
How can you make sure your products are reading properly after set up?
Follow our step-by-step procedures to find out. This post shows the steps to view Diagnostic and Host data in SOPAS Terminal with CLV6xx barcode scanners, Lector6xx image-based code readers, and RFID.
Also, make sure to check out our post on How to Create and Download a SOPAS File.
Viewing Diagnostic Data
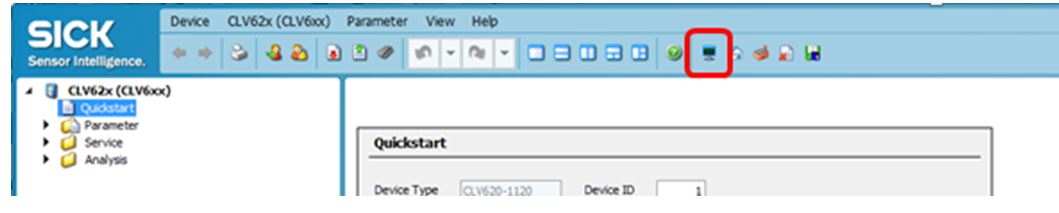
Step 1: Click on the Terminal Icon
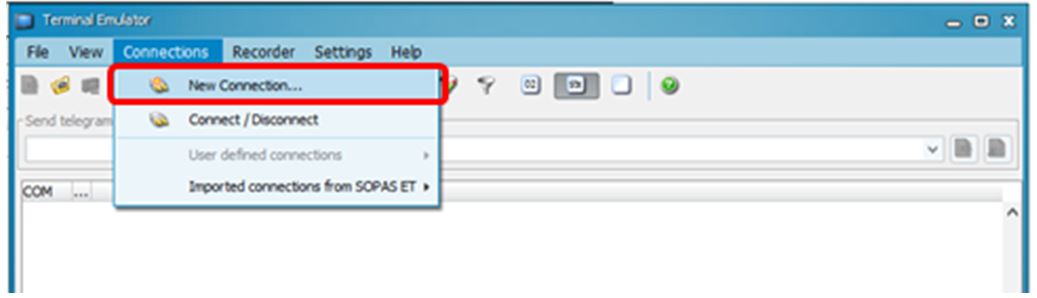
Step 2: Initially the Terminal is offline. Click on the Connections drop down menu and click on “New Connections”
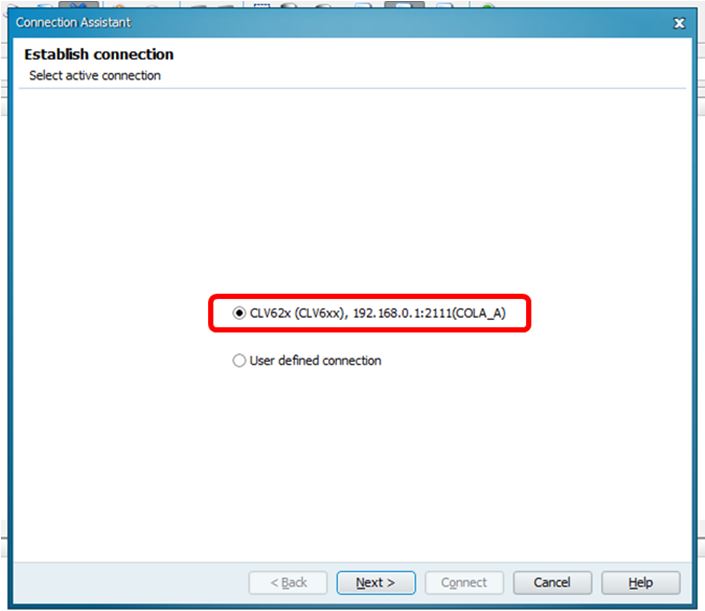
Step 3: Select *…COLA_A.
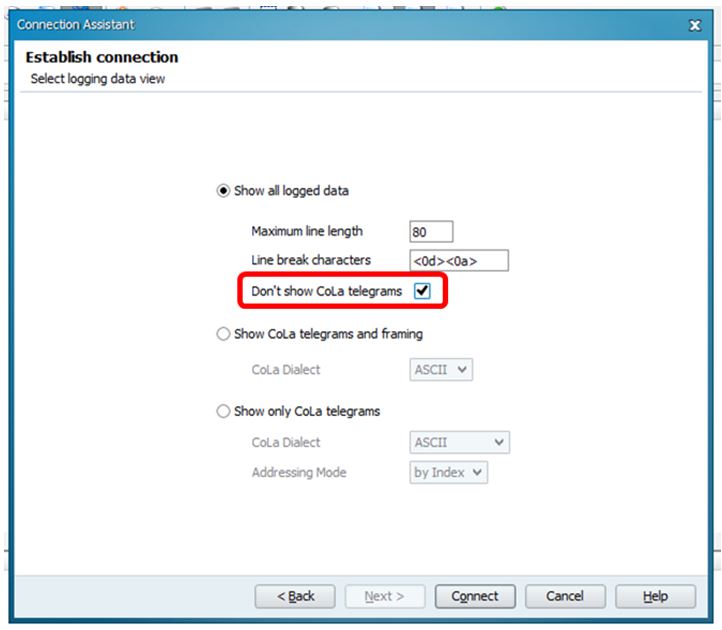
Step 4: Select “Show all logged data” and activate “Don’t show CoLa telegrams.”
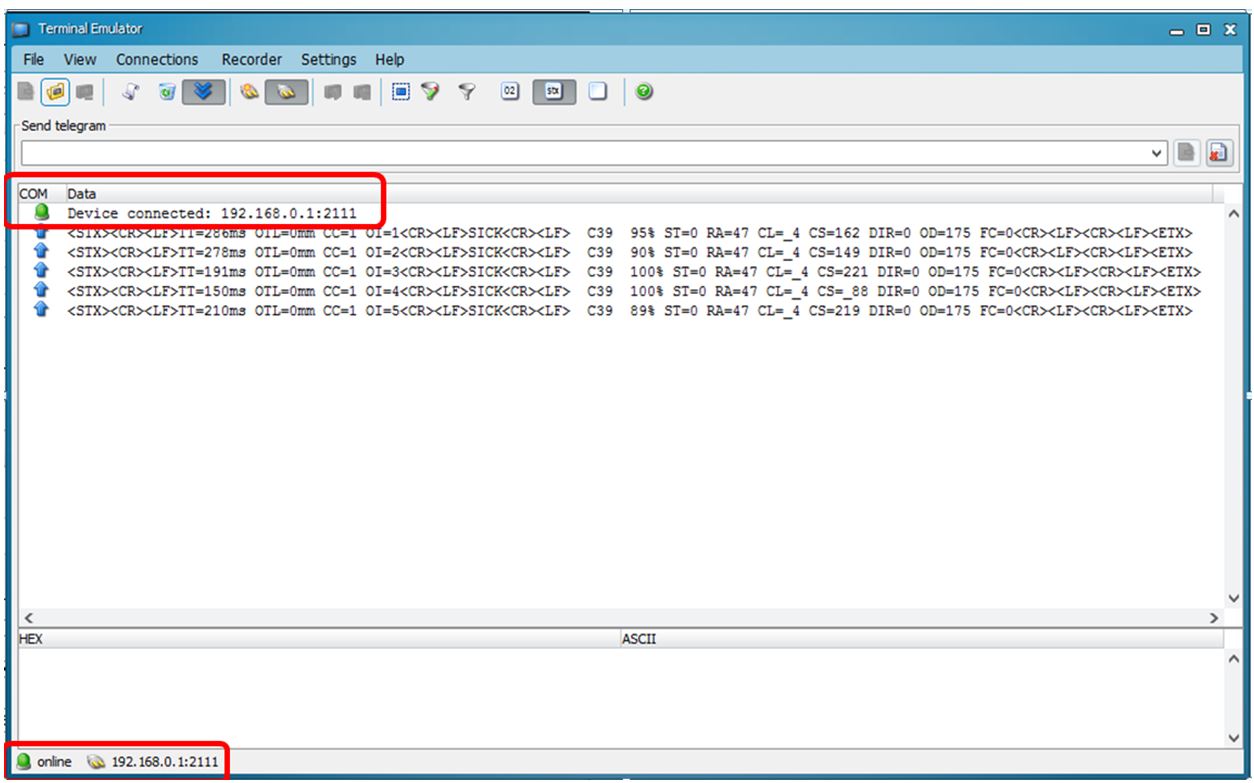
Step 5: The terminal will show device connected and online. Diagnostic data from the scanner will appear on the terminal.
Viewing Host Data
It is also possible to have more than one terminal screen active. To view host data, follow these steps.
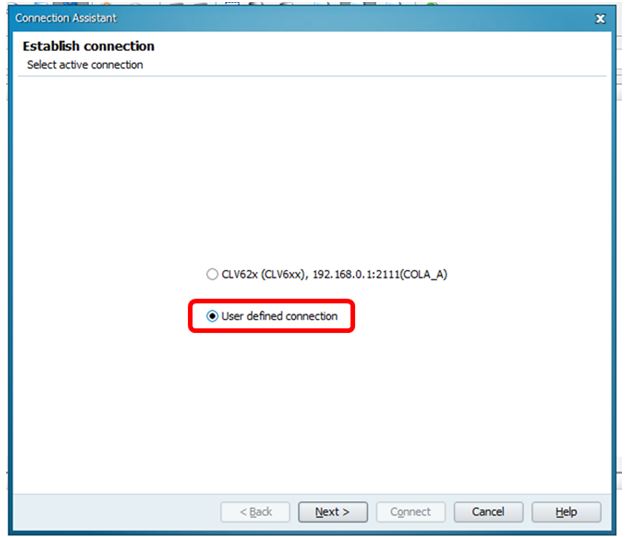
Step 1: Click on the terminal icon and select “User defined connections.”
Step 2: Select communication protocol.
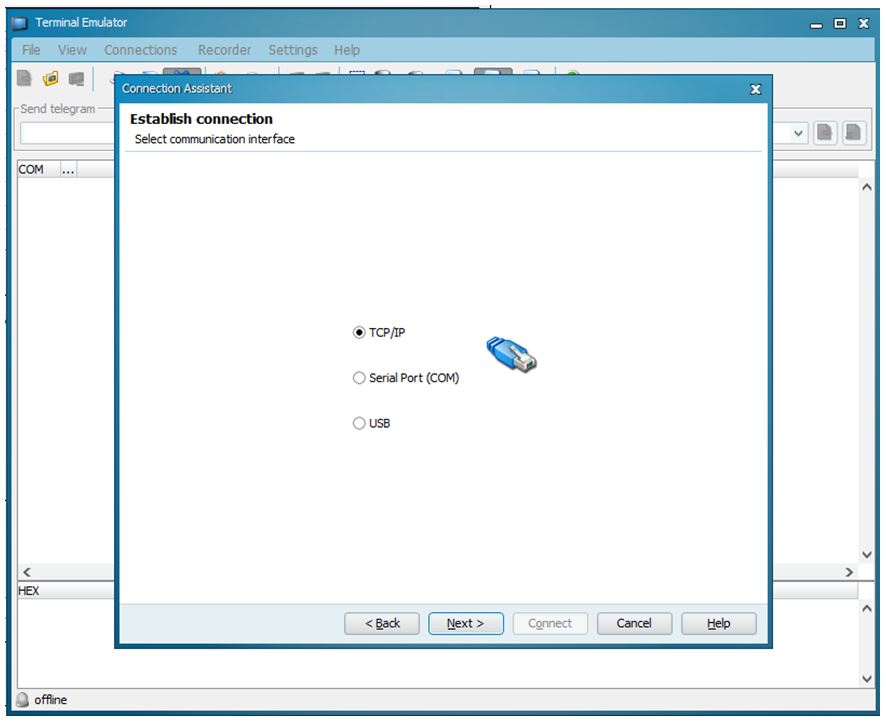
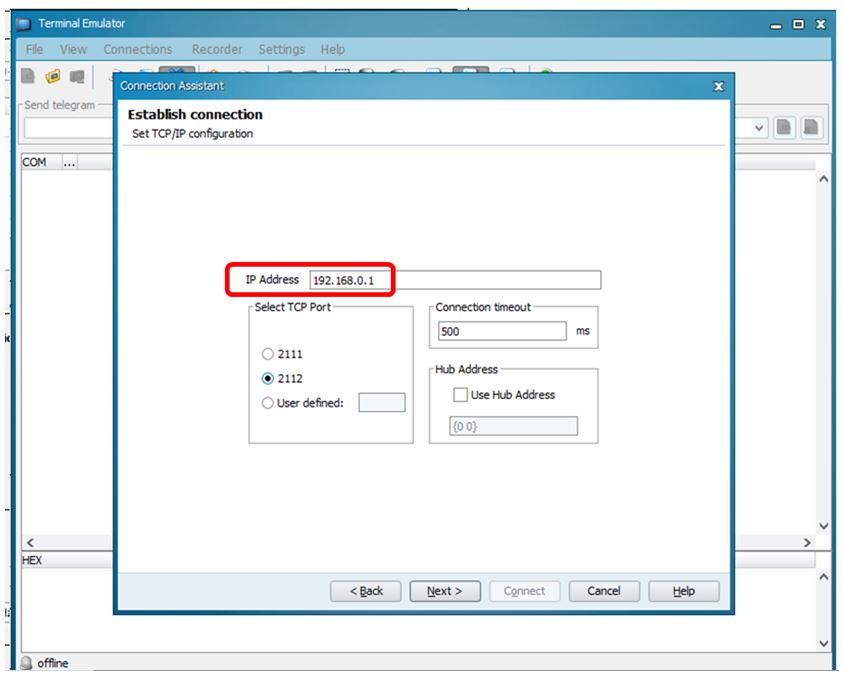
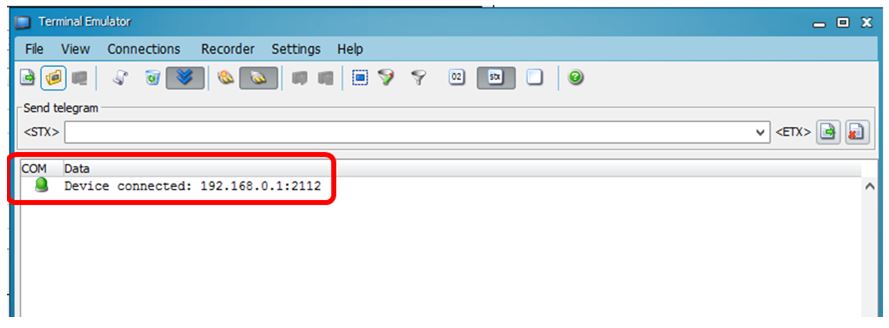
Step 3: In this example we have chosen Ethernet TCP/IP. Make sure your IP Address matches your scanner and select the 2112 Port (Host).
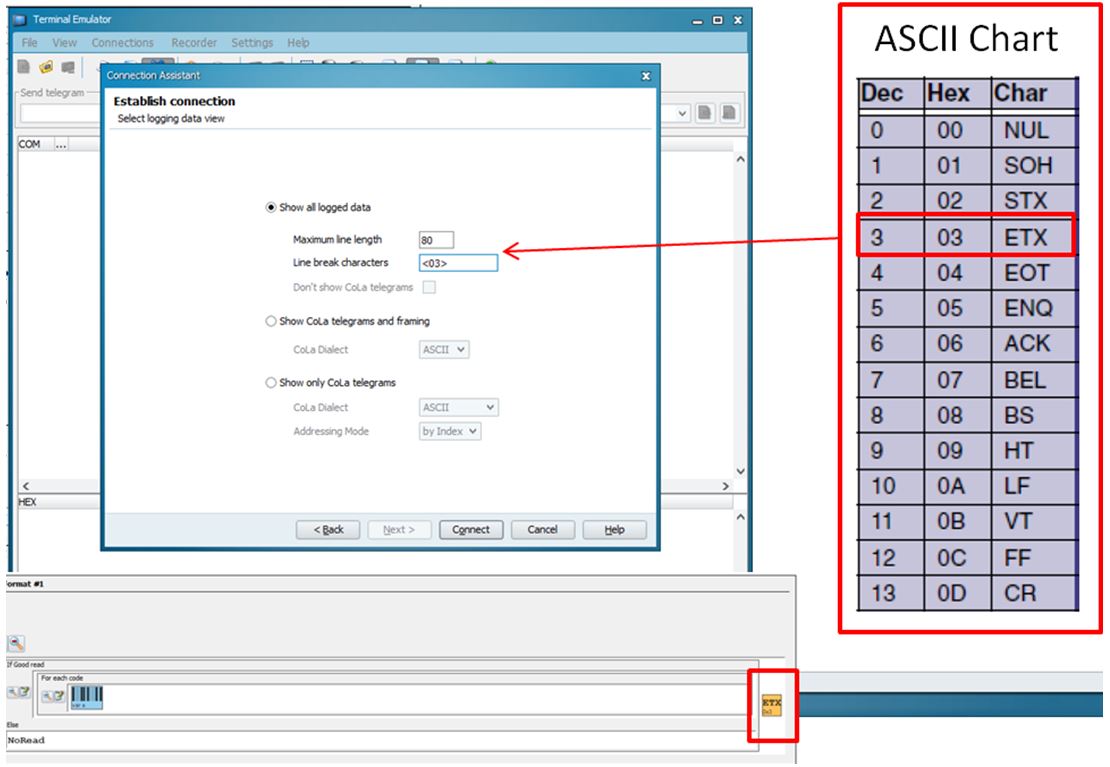
Step 4: Select “Show all logged data” and set Line break characters. When the terminal sees the selected character it will automatically placed the next data message on the next line down. This will make viewing the scanner data easier.
Step 5: Terminal is online
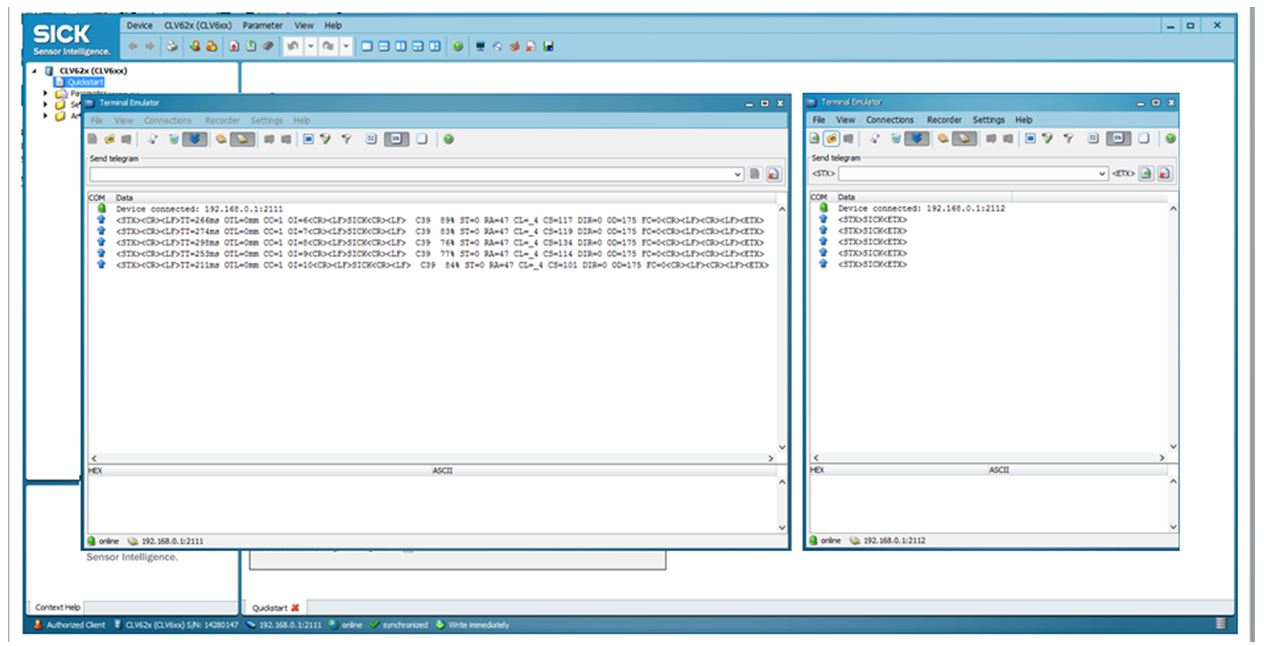
Step 6: Bring up both terminals on screen to evaluate data.
Download the PDF version of these instructions:
How To View Diagnostic and Host Data in the SOPAS Terminal
Contact: Ron Stahl
Email: ron.stahl@sick.com
Direct: 952-829-4832